Lab Project: Basic HTML (60 points)
This lab project focues on HTML, Hypertext Mark-up Language, which is used to produce web pages. In the project,
you will produce your own web page in basic HTML.
In the following pages, you are given an example which tells you how to build a
web page. What you need to do is to write your own web page
by choosing a specific topic, for example about you, your pet, someone
you know, or an imaginary person.
Note to Macintosh users: be careful if you are going to work on
a Apple/Mac machine. Even the app called TextEdit does NOT create plain
text files unless you change a setting in the application.
Note that the file you turn in MUST have been typed in Notepad
or a similar text editor, NOT DreamWeaver or FrontPage or Microsoft Word.
The html that these apps generate is very distinctive. If we find
that your file comes from one of these applications, you receive ZERO points.
If you are not sure about the contents of your file, open it with Notepad
on a Windows machine. If it is readable and looks like what you typed in, you should
be fine. If it has a LOT more stuff there than what you typed in, you have a problem.
Consult with any TA or Dr. Keen.
Your web page must include following elements:
- a title
- at least two level headings
- at least one paragraph
- at least one list (ordered or unordered) with at least three list items
- at least one hyperlink to another web page
- at least two image, one regular size, one small for a thumbnail
- at least one image has a thumbnail (clickable image)
- at least one horizontal rule, with author and modification date, at the bottom of the web page
- at least one kind of normal text formatting (bold, italic or underline)
- at least one table, with at least 3 columns and 3 rows
NOTICE: YOUR WEB PAGE CANNOT CHOOSE THE EXACT SAME TOPIC AS THE FOLLOWING EXAMPLE. YOU MUST BUILD YOUR OWN WEB PAGE AND SUBMIT IT.
TIPS: Here are the detailed steps of
creating a web page, which have been used to create the example web page
"Pochi the cat".
You could follow them carefully to build your own web page
by replacing your own contents. A good habit to develop early is to work
on any project in small steps.
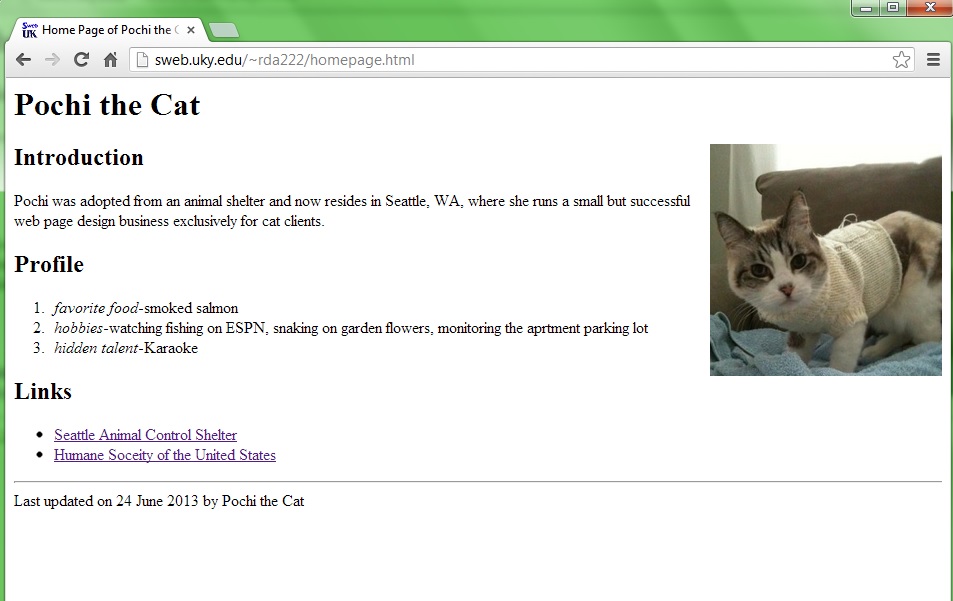
The example web page will look something like this, but we will add one feature at
a time and check the result in a web browser after each step. Here
is the source code for the example web page.
You should make sure all your tags are balanced if they are supposed to be.
There are only a few tags which do not have ending tags, like hr and br.
- Create a folder on your Desktop; name it yourname.
Part 1: Building your web page.
- Start Notepad. Since HTML files consist of plain text, you can use a text editor
like Notepad for a simple web page. In this first step, we will set up the basic
framework that every standard HTML document has. Start by typing the html
start and end tags each on its own line. These tags
will enclose the file's entire contents and instruct the browser to interpret the
contents as HTML, rather than display it directly as plain text (as you see it in
Notepad).
- Continue adding HTML framework. Inside the html section (between the
<html> and </html> tags), add a head section and a body section,
each with paired tags. The head section will contain the web page title and other
information that the browser does not display in the web page itself. The body section
is where you put the text you want to appear on the page.
ALL (except the title) of your source should appear inside the body tags. Your source should now look something like this:
<html>
<head>
</head>
<body>
</body>
</html>
- NOTE: when your page is finished, the </body> and </html> tags should be the LAST two lines of the file!.
- Add a title. In the head section, add a title section using paired tags, and type
a title for your web page between the title tags. Choose something concise that describes your page well, such as
"Home Page of [Your Topic Here]". In the example, the title is "Home Page of Pochi the Cat".
- Save your document. It might not seem like you have done very much, but this is
already a good place to stop, save, and check your work. Choose the filename
"homepage.html" and save the file in yourname folder on the Desktop.
The extension should set as .html, which distinguishes this file from
plain text files with .txt extension.
- View your page in a web browser. Minimize Notepad and double click the web page file you saved.
It will be opened in a defalt web browser. Or you can run a web browser and select the file by using its path.
Although your HTML file clearly contains text, it consists entirely of tags, so you should see a completely blank
page. However, your page title should appear in the browser window's title bar.
If not, double-check that your tags are properly typed (with pointy braces) and
paired.
- Add headings to your page and its three sections. Restore Notepad and in the
body section, add a heading for the whole page in paired h1 tags. Make the
heading the name of the person (or pet) this page will feature. In the example, the name is "Pochi the Cat".
HTML offers multiple levels of headings, and h1 is the highest
level heading, so it will be
displayed as very large, bold text. Create subheadings on your web page
by using lower level headings. In the example, subheadings for the
"Introduction,"
"Profile," and "Links" sections use three pairs of h2 tags. The HTML file for the example now looks like this:
<html>
<head>
<title>Home Page of [Your Topic Here]</title>
</head>
<body>
<h1>[Your Topic Here]</h1>
<h2>Introduction</h2>
<h2>Profile</h2>
<h2>Links</h2>
</body>
</html>
Double-check that your heading tags are properly paired, then save your
document and switch to your browser window. To force the browser to reload the
updated version of the page, you will have to click the Refresh button.
You should see your headings, with the first h1 heading larger than the
rest. You can use this method to check your new inserted tags and contents whenever you want.
- Add a paragraph of text. Return to Notepad and add one or more paragraphs of text
among the subheadings, making sure to put each of your
paragraph in paired p tags. You can break your lines anywhere you want,
because when the web browser displays the page, it decides where to place line
breaks so that the paragraph fits in the current window size. Again, save and
check your updated page with the browser.
Part 2: Lists of Items and Linking to Another Page
- Add a list. HTML supports two kinds of lists, "ordered" and "unordered".
The general format of a list is a section marked by paired ol or ul tags (for ordered or unordered list,
respectively). The items go inside this section, with each item in paired li tags, where li stands for
list item. Using list tags (either of ordered or unordered is fine), add a list under a subheading.
In the example web page, the ordered list is added under the "Profile" subheading and looks like this:
<ol>
<li><i>favorite food</i>-smoked salmon</li>
<li><i>hobbies</i>-watching fishing on ESPN, snaking
on garden flowers, monitoring the aprtment parking lot</li>
<li><i>hidden talent</i>-Karaoke</li>
</ol>
- Add a hyperlink. The paired a tag is used to mark
the link and specify the link URL. When you use the a tag to make links, make sure that the URL is in quotes and in the
start tag, you have a space between the tag name, a ("anchor"), and the href ("hyperlink
reference") URL section. In the example page, there are two links under the "Links" subheading by putting
a tags inside list items (li sections). The HTML for this part is as follows:
<ul>
<li><a href="http://www.seattle.gov/animalshelter/">Seattle Animal Control Shelter</a></li>
<li><a href="http://www.humanesociety.org/">Humane Soceity of the United States</a></li>
</ul>
You want to start your hyperlink with http:// to make it non-local. You want to refer to a page actually on the web, not another file on your computer.
- Add author and modification date. Before you add
more to your page, add author's credits and today's date at the bottom of the page
(properly placed in paired paragraph tags). So far, you have been working with
paired tags, so this is an opportunity to add an unpaired tag. Use the hr tag for
a horizontal rule line to separate the author and date from the rest of the page.
Part 3: Adding an Image
- Save an image from an existing web page. Find an image you would like to put
on your web page and right-click it to pop up a menu. Select Save Image As...
and save it to the folder where your web page is saved. Before clicking
Save, you might want to change the name of the file so that it concisely describes
the image. Your image will only appear in your web page IF it is in
the same folder as the HTML file. In the next step, you will add a special tag to
your HTML source to display the image.
- Add the image to your web page. The unpaired img tag is used to add an image
to an HTML document. Here is a usage of the img tag in the example page:
<img src="cat.jpg" alt="photo of a cat">
The src ("image source") setting specifies the name of the image file to be
inserted in the page. The alt ("image alternative") setting is used to provide a
brief text substitute for the image, commonly as a descriptive phrase. Strictly
speaking, the alt setting is optional, but it is very important for web browsers
that are not capable of displaying images.
Follow the example above and add an img tag to your HTML source after your
h1 level heading. Make sure the image filename you specify in the src
setting is exactly right, including capitalization and file type (.jpg, .jpeg, .png, .gif, etc.). Save your HTML and open the
HTML file from your local disk to verify that the page includes the image.
If your image does not appear in the page, check to make
sure that the image file is in the same folder as your HTML file and that the src
filename is exactly right, paying attention to case and extension.
- Adjust image size, if necessary. Image files vary widely in size, so you might find
that your image is too large on the page when viewed in a browser. In this case,
you can use additional img tag settings to adjust the size. One easy way to do this
is by forcing the image's displayed width as a percentage of the browser window
size, using the width setting. For instance, adding this setting to the img tag
example above forces the browser to resize the image so that it always takes 25%
(one fourth) of the browser window width:
<img src="cat.jpg" alt="photo of a cat" width=25%>
Try adding a width setting to your img tag, making sure not to forget the percent
symbol. Check results in your browser as you adjust the percentage. Try resizing
the browser window and watch the image carefully.
- Adjust image alignment, if desired. If you want the image displayed side-by-side with the text,
you can easily do this by adding an alignment setting to your img tag. Adding
align=right to the example above puts the image on the right side of the
window, allowing text to appear to its left:
<img src="cat.jpg" alt="photo of a cat" width=25% align="right">
- Add a thumbnail image, that is, a smaller image which is clickable and produces a larger image.
The small and large images can be versions of the same image or not. See the slides in "HTML Primer" slides titled
"Clickable Images" and "How to make a Thumbnail".
- Note that you can add more images if you wish! Make sure you include all the
images in your final zip file that is submitted.
Part 4: Adding a Table
- Adding a table to the page Put a <table> tag where you want the table to be.
If you like, add an "border" attribute inside the brackets to make the table stand out.
- Make a header row for the table Each row in the table starts with <tr>, for "table row" and
ends with a similar ending tag. A header row makes the data inside it bold and centered in the column.
You make a row into a header by using the tag <th>, for "table header".
Use as many tags as you want inside row tags; each one used is another column.
Example: <tr> <th> My Name </th> <th> My Address </th> <th> More data </th> </tr>
is a table row with three columns. It is a header row because it uses the <th> tag.
- Make a data row for the table Instead of the <th> tag, use <td>, for "table data". Same idea: each "td" tag
makes a new column in the row.
Example: <tr> <td> My Name </td> <td> My Address </td> <td> More data </td> </tr>
is a table row with three columns. It is not a header row because it doesn't use the <th> tag.
- Don't forget to end the table with an end table tag </table>.
Part 5: Submit your page
- Zip your html file, your image files and anything
else you need for your page and submit it with the Canvas link.
The due date of submission is
Wednesday, December 8, midnight.
It will be accepted until Thursday, December 9, midnight with no penalty.
Any submission after Thursday will not be graded.